Hoofstar hoof protection for horses
Whether you are looking for a permanent or removable hoof protection for your horse, you are right here.
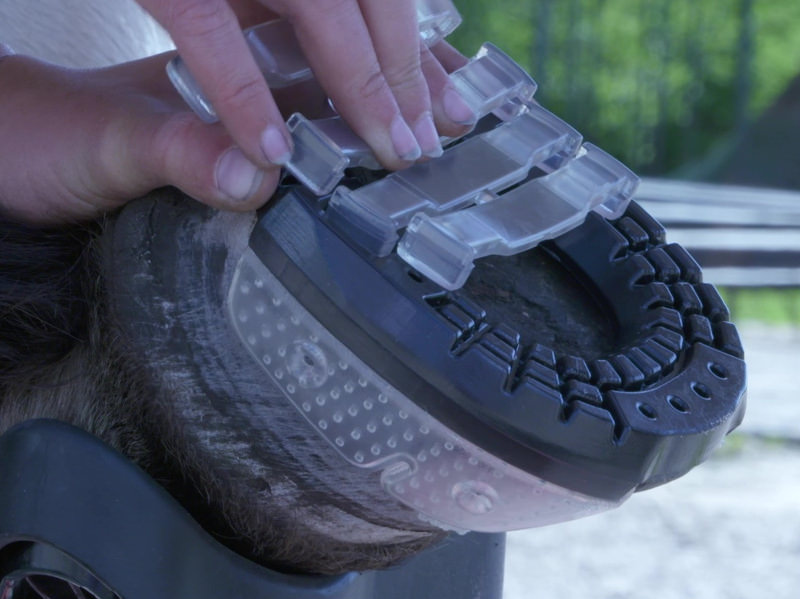
SWIFT PRO are the latest hoof boots from Hoofstar, adaptable to the hoof in all dimensions and sustainably produced. They allow the hoof to breathe and offer plenty of grip.
Swift ONE hoof boot is the previous version of the Swift PRO and is particularly suitable for small hooves.
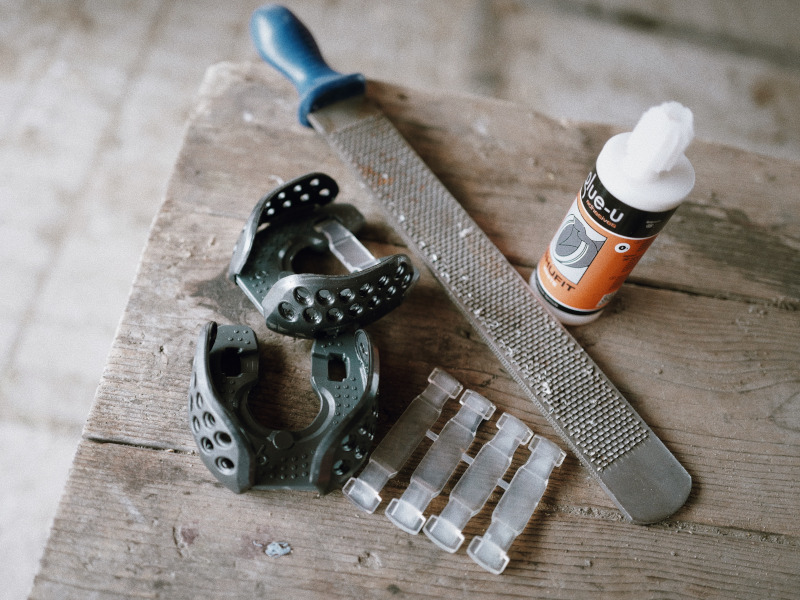
RALLY is an adhesive shoe that stays permanently glued to the hoof for 4 to 9 weeks. It is glued with two-component glue and is simple to apply.