Klebelaschen System RUNA

Product information "Klebelaschen System RUNA"

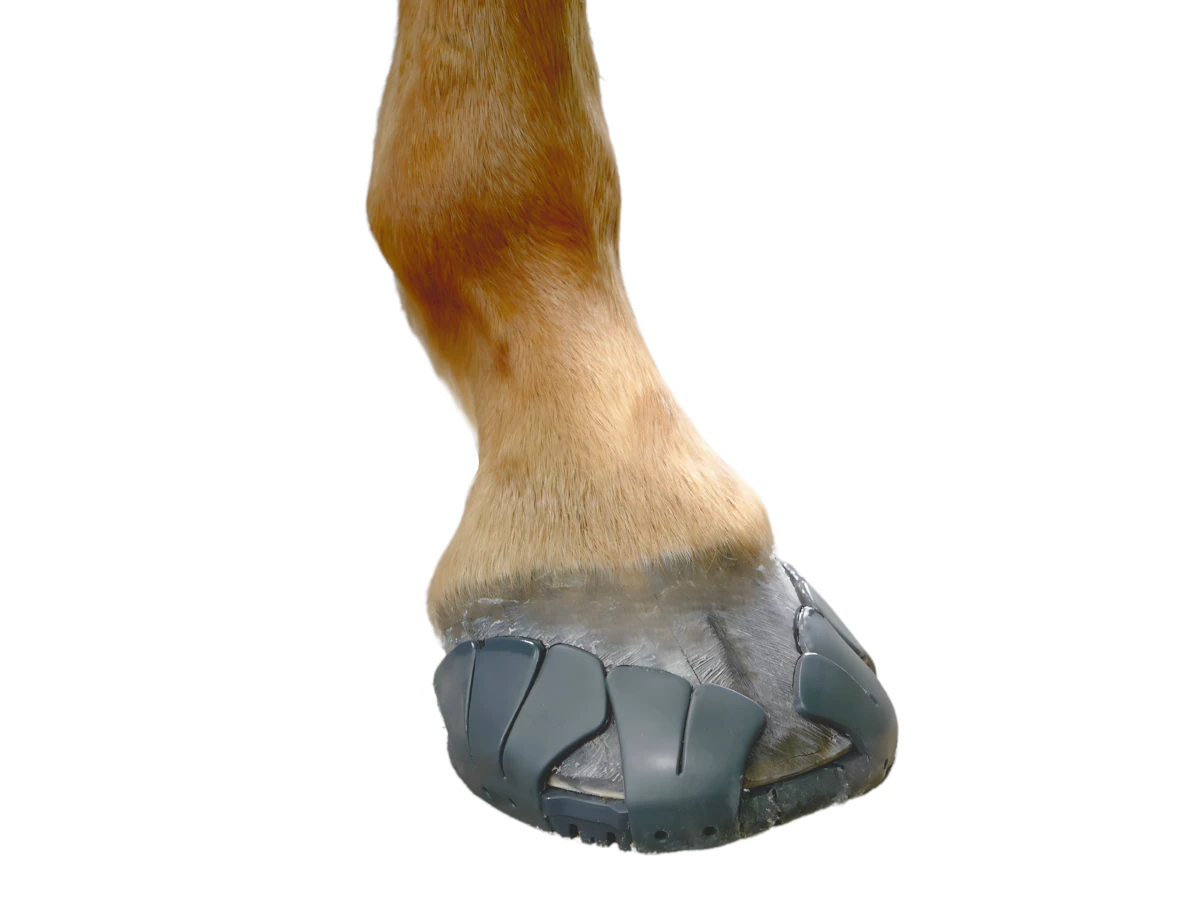
What is the Hoofstar adhesive flap system?

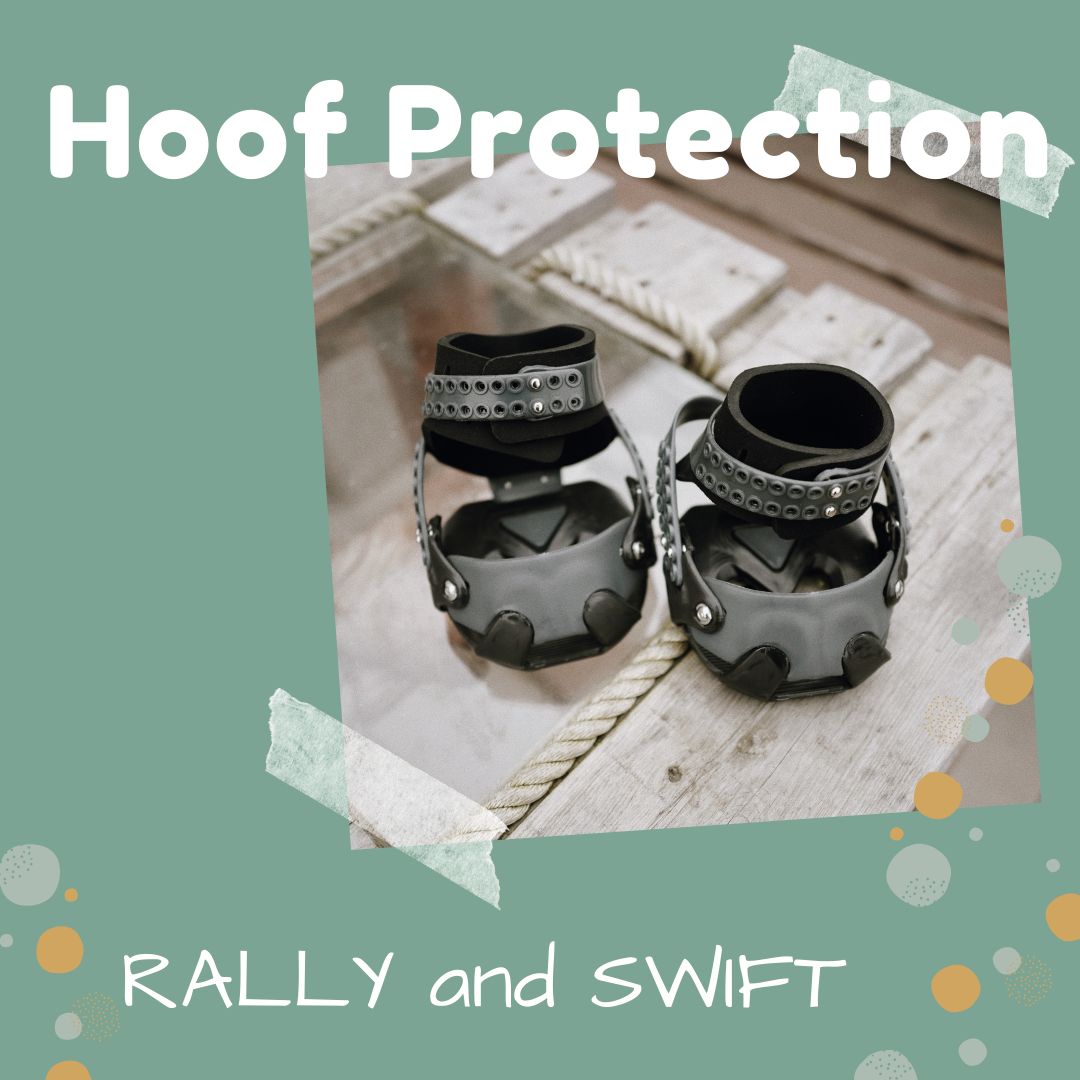
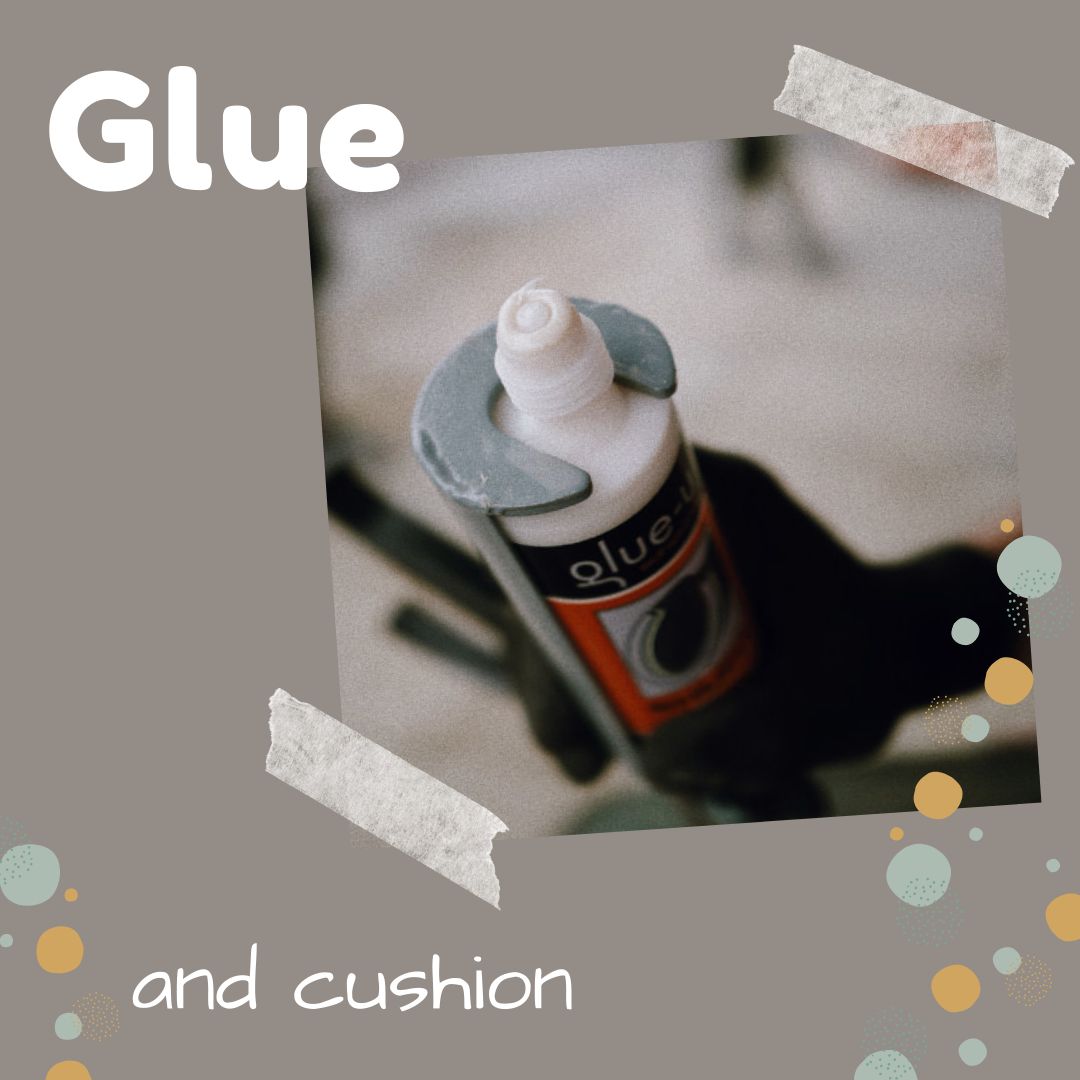
With Hoofstar, you don't need to weld or cut a base plate. You get a ready-made shoe that you only need to glue together with superglue. You can adjust the size to the millimetre by simply tapping the shoe. You don't need any tools. And in our starter set, you'll find everything you need to glue the Hoofstar adhesive strap system, including illustrated instructions that explain all the steps in detail. 

Quick and easy to use:
Each adhesive flap is attached in just a few seconds while your horse is standing comfortably. Individual size adjustment easily possible without tools. 

Long-lasting comfort:
Flexible plastic moulds perfectly to the hoof without hindering natural movement - in the usual HOOFSTAR quality.

How it works:
The sole of RUNA is specially designed to fit perfectly. With just 10 tabs and a few drops of superglue, it is securely attached to the prepared hoof - all while your horse stands relaxed.

Reusable:
Runa can be used several times. The adhesive shoe is removed for hoof care and can then be reattached. This saves money and resources. 

0 of 0 reviews

Leave a review!

Share your experience with our products with other customers.

At Hoofstar, every consumer review is checked for authenticity before it is published, ensuring that reviews only come from consumers who have actually purchased/used the products being reviewed.

The verification is done by manually checking the review against the order history of the merchandise management system to make a previous product purchase a necessary condition for publication.


Runa glue-on shoe: Perfect hold for every horse's hoof

Step-by-step instructions for the optimal use of Runa

Instructions for attaching the RUNA glue-on shoe 

Three simple steps to customise Runa to your horse

Size adjustment

First, place Runa on your horse's hoof to determine the right width. A correct fit is essential for the correct fit and durability of the glue-on shoe.

  • Glue on shoe too wide?
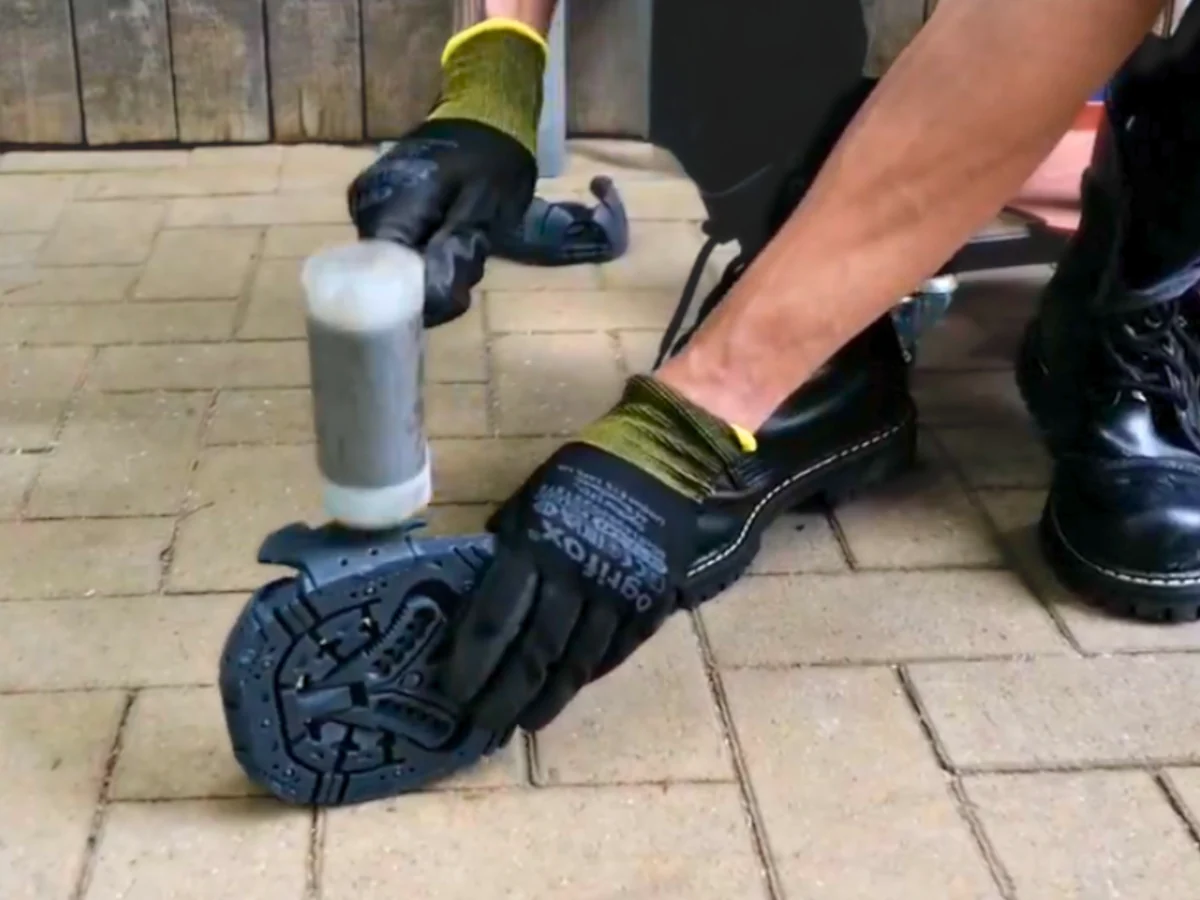
    If the shoe is too wide, you need to make it smaller. Place the shoe on the side edge and hit it once with a rubber mallet to reduce the shoe by one step. Repeat this process until the shoe is snug against the hoof and fits well.
  • Glue on shoe too tight?
    If the shoe is too tight, it must be enlarged. Stand the shoe on end and hit the back edge once with a rubber mallet to enlarge the shoe by one step. Repeat this process until the shoe fits snugly without being too loose.

Fix size and degrease

Once the width of the glue-on fitting has been set correctly, this width must be fixed using the nuts and screws supplied. 

  • Insert the two nuts provided into the overlapping holes on the inside of the shoe. Press the nuts in firmly so that they are secure.
  • On the underside of the shoe, use the Allen key to screw in the supplied screws until they are fully countersunk and flush with the underside of the shoe.
  • Check the fit again to ensure that the shoe still fits perfectly after fixing. 

Prepare the hoof: Clean the hoof thoroughly with a lint-free (!) alcohol wipe to remove dirt, grease and other impurities. A clean surface is important for the adhesive to adhere. Then clean the inside of the hoof thoroughly with a lint-free, alcohol-soaked cloth. 

Glue RUNA

As soon as the size is fixed, you can attach the glue-on shoe to the hoof.  

  • Put the shoe on: Pull the shoe onto the hoof and check the fit again to make sure it is correct and comfortable.
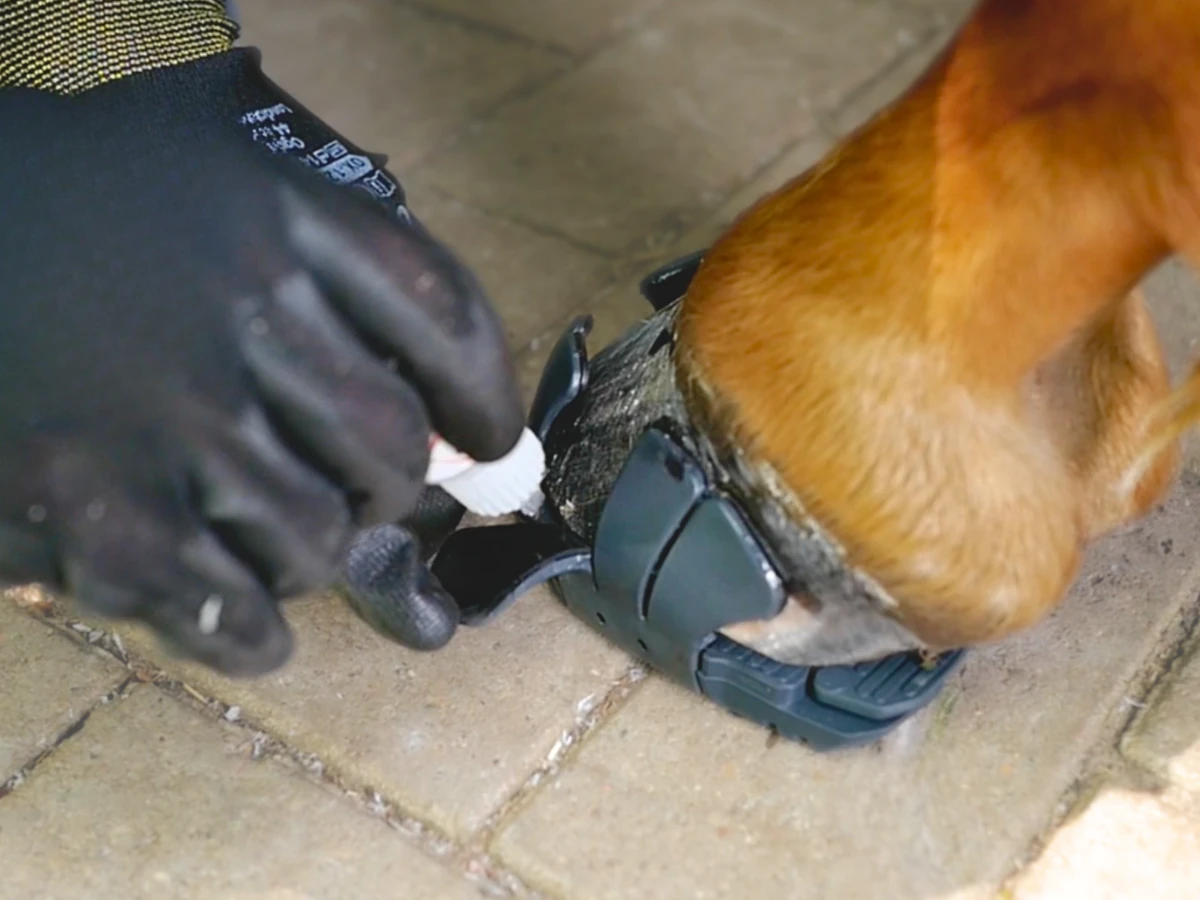
  • Attach the glue-on tabs: Start with the rear flaps, each flap must be glued individually and in sequence. Glue the rear left tab first, then the rear right tab, and then work your way forwards. 
    • Bend the flap outwards for gluing so that the inside of the flap is accessible.
    • Apply 1-2 drops of glue thinly (!) to the inside of the flap. Make sure to use as little glue as possible to ensure even distribution and strong adhesion (no adhesion if too much glue is used)
    • Place the flap on the hoof and press it down for 5 seconds with even pressure to activate the adhesive and achieve a secure bond.
    • Repeat this process for each additional flap until all flaps are firmly and securely glued to the hoof.